The first time I washed six bottles at 10:30 p.m., I left one nipple soaking in the sink and found it the next morning beside a soggy burp cloth. That was when a bottle washer and sterilizer started to sound less like a luxury and more like a reasonable household appliance. If you are feeding a baby with bottles, you already know the work is not just pouring in formula or pumped milk. There are collars, valves, nipples, caps, and tiny parts that somehow migrate under the toaster.
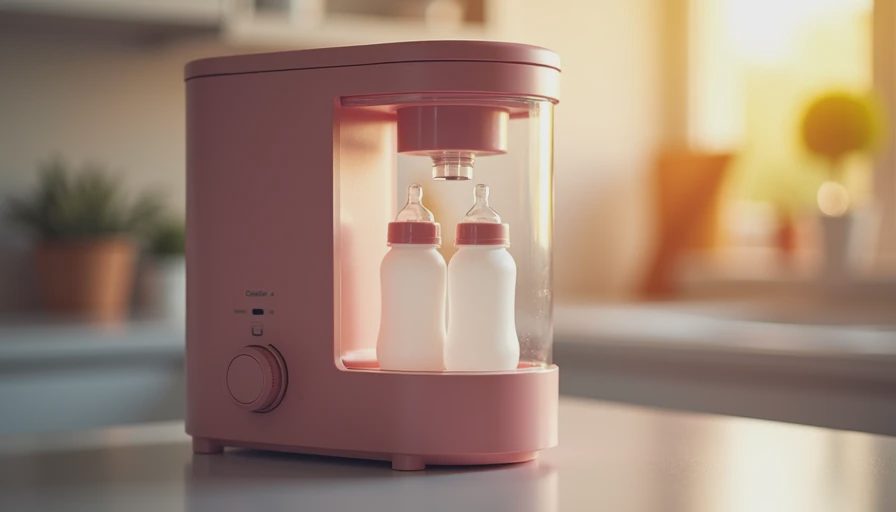
A bottle washer and sterilizer can combine several jobs: rinsing away milk residue, washing parts with spray jets, sanitizing with heat or steam, and drying everything before the next feeding. The right setup can save time without asking you to surrender an entire kitchen cabinet.
What a bottle washer and sterilizer actually does
Most countertop units follow a simple sequence. You load bottles and components into a rack, add water, choose a wash or wash-and-dry cycle, and let the machine handle the repetitive part. Some models use high-temperature water and steam. Others include a drying cycle that uses warm air after cleaning. That final step matters because clean parts sitting wet in a closed bin can become a frustrating pile of damp plastic.
A washer is not the same thing as a dishwasher, although some bottle appliances borrow dishwasher-style spray arms. The rack usually has narrow spaces for nipples and small valves, while the wash chamber is sized for baby bottles rather than plates. A sterilizing cycle generally uses steam or heat to reduce germs on already cleaned items. It does not replace washing, and it cannot rescue a bottle with dried milk stuck inside.
Capacity varies more than the product photos suggest. A compact model might fit four standard bottles, while a larger unit can handle six to eight bottles plus pump parts. If your baby uses four bottles daily, a smaller machine may be enough. If you pump, use wide-neck bottles, or wash for twins, extra room becomes much more useful than a fancy touch screen.
Features worth paying for
The most useful feature is a genuinely good rack. Bottles should sit upside down without touching the chamber floor, and nipples need a dedicated area where water can reach every surface. Look for adjustable pegs if you use more than one bottle shape. A fixed rack designed around narrow bottles can make wide-neck containers awkward and reduce the machine's real capacity.
A separate basket for small parts is another practical detail. Without one, silicone valves and caps can fall beneath the spray arm or disappear into a corner. I would also prioritize a visible water tank, a removable filter or drain area, and a lid that opens wide enough to load without bumping the counter. A delayed start, refill alert, and quiet cycle are pleasant extras when the nursery is next to the kitchen.
Drying deserves a close look. Heated air can leave parts ready to use, but some parents prefer a lower-temperature setting for delicate silicone. A machine that only sterilizes and leaves everything wet may still be helpful, but you will need a separate drying rack. Compare the full routine, not just the number of buttons on the front.
Steam, heat, and the word sterilizer
Parents often use “sterilize” to mean a high-heat steam cycle, but the important order is wash first, then sanitize. Milk film can shield the surface underneath, so steam is not a substitute for cleaning. Follow the bottle manufacturer's instructions, especially for plastic marked with temperature limits. Some components can warp, cloud, or lose their shape if repeatedly exposed to high heat.
A steam-based bottle washer and sterilizer is convenient because it usually needs only water and electricity. It does not require tablets, bleach, or special detergent. A dishwasher-safe bottle can also be washed in a dishwasher basket, with a heated dry cycle if the instructions allow it. That may be the better value for families who already run the dishwasher every evening.
For a small apartment or occasional bottle use, a microwave steam bag or basic electric sterilizer can cost less than $30. A countertop washer, dryer, and sanitizer often sits around $150 to $300, depending on capacity and controls. The higher price makes sense when it replaces several minutes of hand scrubbing after every feeding, not simply because the word “sterilizer” appears on the box.
How to choose by your actual routine
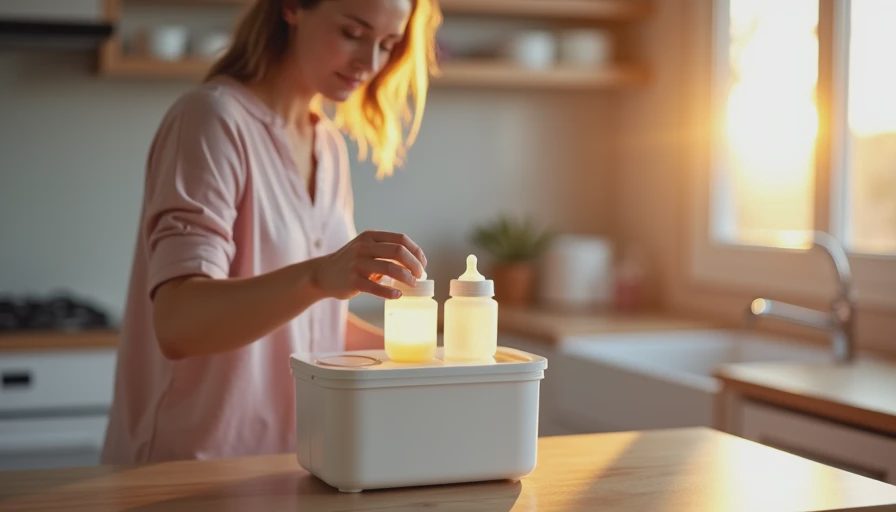
Start with a two-day inventory. Count bottles, pump parts, pacifiers, and the number of times you realistically wash them. If you wash after each feeding, calculate whether the machine can hold one full day of parts. If you wash twice daily, a smaller capacity may be perfectly comfortable. This simple check is more useful than comparing glossy product photos.
Next, measure the counter space and the distance to your sink. Some units need a reservoir filled by hand, while others connect to a water line or drain into a sink. A reservoir is easier to install but adds another task. Check the height under upper cabinets too; a lid that opens upward can be inconvenient in a tight kitchen.
Then consider your feeding equipment. A family using Dr. Brown's-style vent parts needs more small-piece space than a family using one-piece silicone bottles. Pump users should confirm that breast pump shields, duckbills, and collection containers fit safely. Do not assume every appliance approved for bottles is automatically suitable for every pump brand.
Cleaning the appliance so it helps
A bottle washer and sterilizer still needs care. Empty leftover water after cycles, wipe the door seal, and follow the manual's descaling schedule. Hard-water buildup can cover heating elements and leave a chalky film on the chamber. White vinegar is recommended for some appliances, but not all, so use the cleaning method specified for your model.
Once a week, inspect spray openings and the small-parts basket. A blocked jet can make a cycle look successful while leaving residue behind. Wash your hands before handling clean parts, and store dry bottles in a covered, clean area rather than returning them to a damp sink. These habits take less than five minutes and protect the time you hoped the machine would save.
A useful test is to run one normal load with a bottle that has held milk, not just an empty demonstration load. Check the collar threads, underside of nipples, and valve channels. If you still see a slippery film, improve the pre-rinse or change the detergent before blaming the appliance.
Julia Test Log: deciding whether it earns counter space
My rule for baby gear is the same one I use for children's clothes: the best product is the one that gets used on an ordinary Tuesday. I would choose a sturdy bottle washer and sterilizer with a roomy rack and dependable drying over a beautiful model that holds only four narrow bottles. I would also choose a basic washer plus a separate drying rack if the budget is closer to $100.
Before buying, compare the appliance's true cost with your time. Add the machine, detergent, replacement filters if required, and the counter space it occupies. Then ask whether it eliminates hand washing, drying, or only the final steam step. A $200 unit that replaces two daily sink sessions can feel worthwhile during the newborn months; a $250 unit used once on the weekend probably will not.
Would I buy a bottle washer and sterilizer again? Maybe, but only the kind that fits the family's bottle system, dries thoroughly, and holds a full day's parts. If those three details line up, it is practical help rather than another gadget waiting to be wiped down.



Travellers Write
No letters yet — be the first traveller to write.